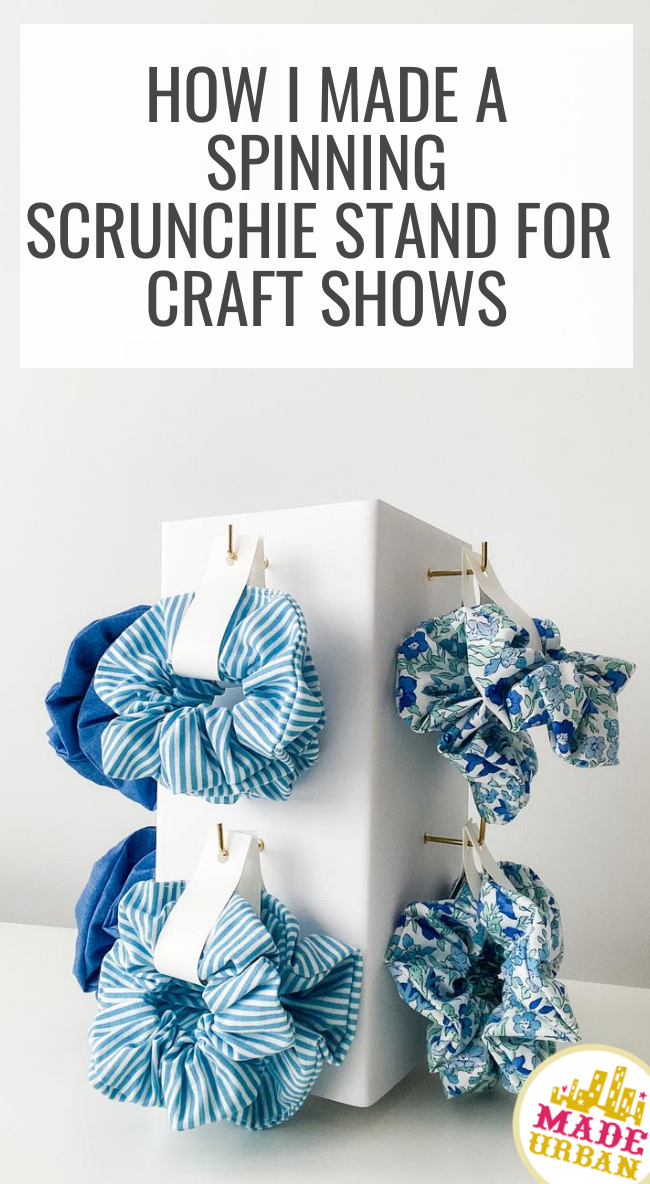
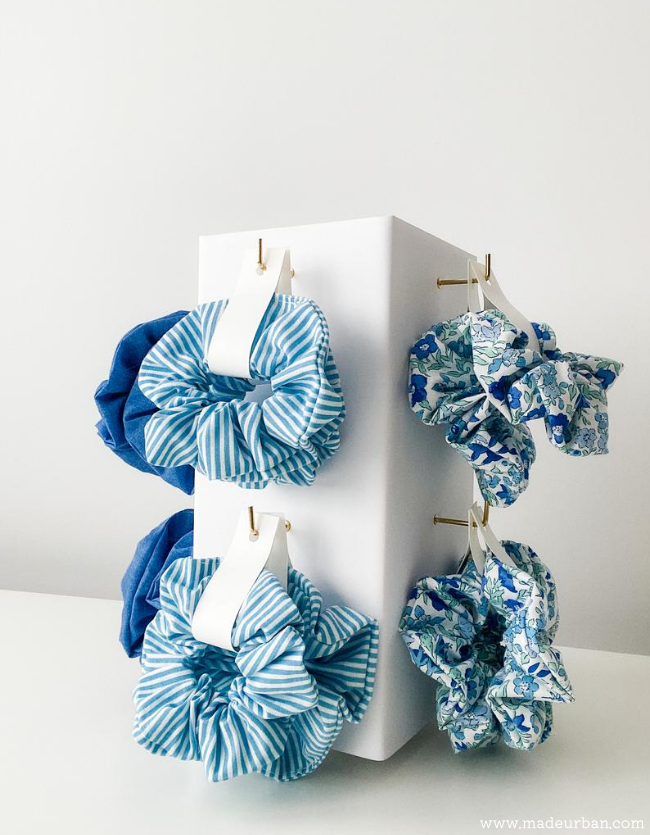
How I Made a Spinning Scrunchie Stand for Markets
This spinning stand can be altered in size to fit more scrunchies, or bigger scrunchies.
You can also create variations of this to display:
- Jewelry
- Stickers
- Cards/small art prints
- Bookmarks
- Etc.
*This article includes affiliate links, meaning I get a commission if you decide to purchase through my links, at no cost to you. Read full disclaimer here
Materials
- Foam core board (22″ x 28″ or bigger for these instructions)
- Ruler
- X-acto knife
- Pencil
- Hot glue gun & glue
- Lazy Susan turntable (I purchased this set, but there are many sizes here)
- L-shape screw-in hooks (I purchased these 2″ gold ones, but there are other sizes and colors here)
- Spray paint (optional)
Step-by-Step Video:
Step 1 – Cut foam board pieces
You’ll need 2 squares that are 5″ x 5″ and one rectangular piece that is 11″ x 20″
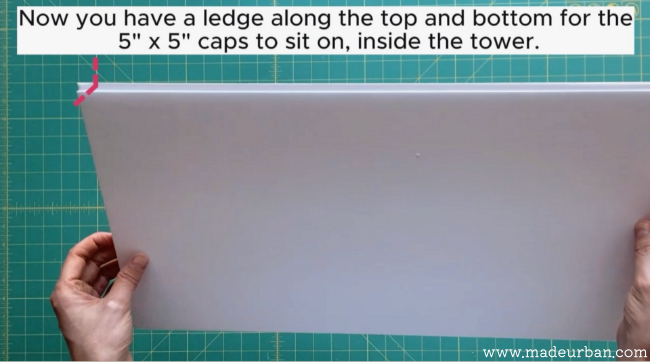
Step 2 – Cut top & bottom ledges
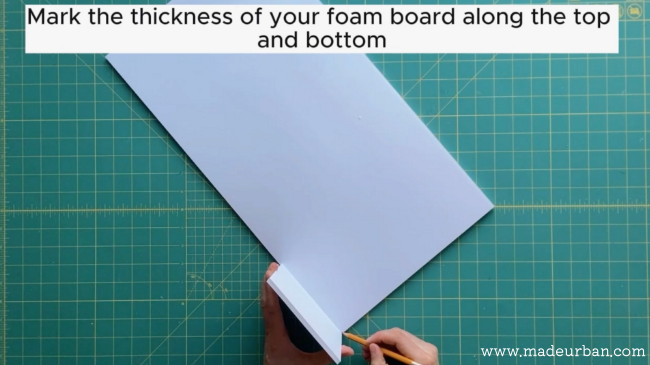
Cut a channel out of the top and the bottom of the rectangle to create a ledge inside the tower the top and bottom caps can sit on. This will create a clean look from the outside.
Start by marking the thickness of your foam board along the top and bottom of your rectangle.
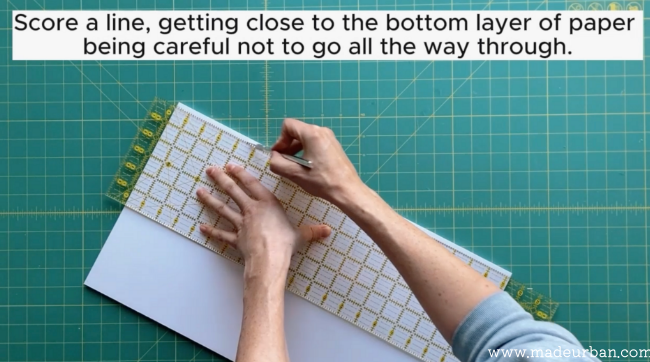
Score a line going through the top layer of paper and all the foam, making sure not to go through the bottom layer of paper.
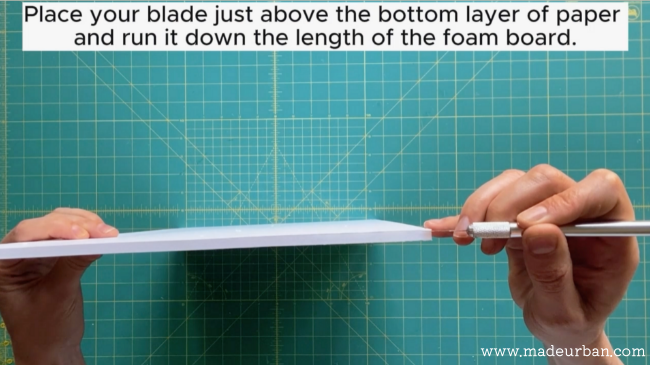
Then, place your blade just above the bottom layer of paper and run your blade down the length of the foam board.
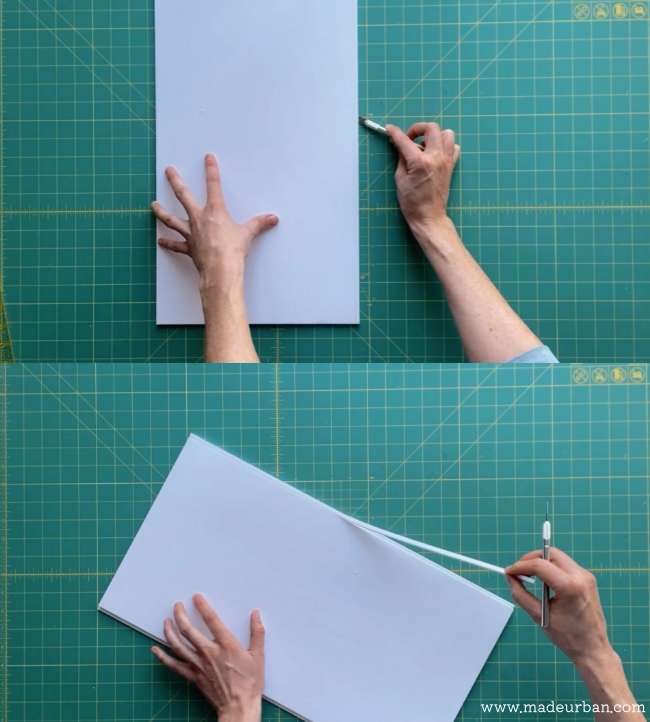
Continue to lightly score your lines until the channel pops out.
Repeat this on the bottom of your rectangle.
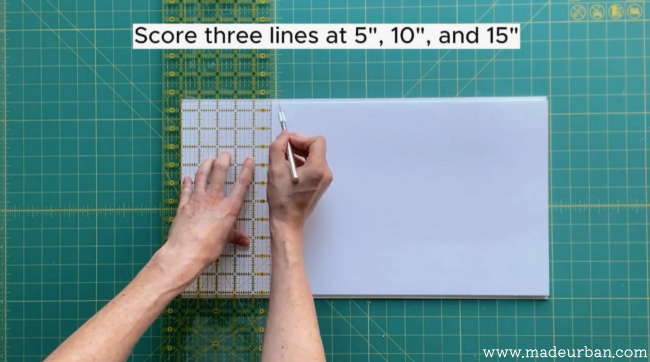
Step 3 – Score lines
Score three lines 5″ apart. Then snap the foam board along those lines to be sure the cut goes to the bottom layer of paper (without going through).
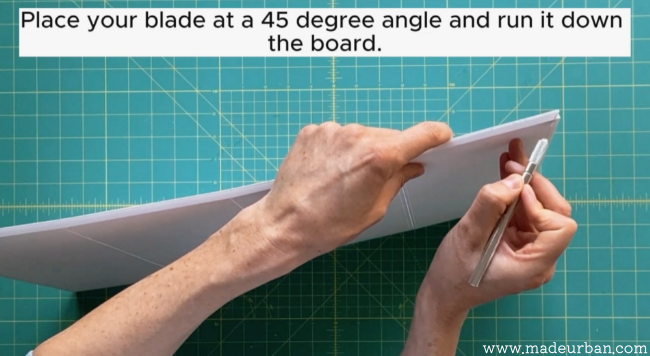
Step 4 – Cut bevelled edges
Cut your foam board at a 45-degree angle along each end and on either side of each scored line.
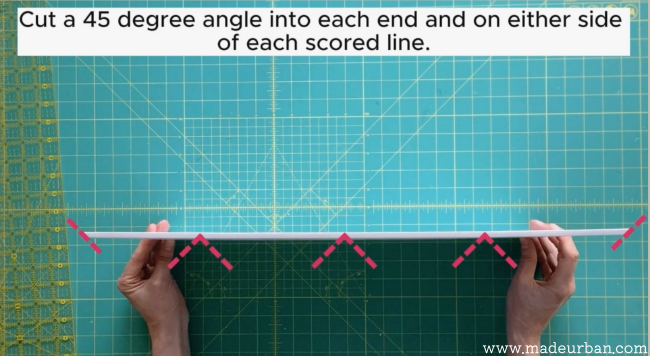
Starting on the end:
Then cut a 45-degree angle on either side of the scored lines, being careful not to go through the bottom layer of paper.

Repeat these cuts on each scored line and at the other end of your rectangle.
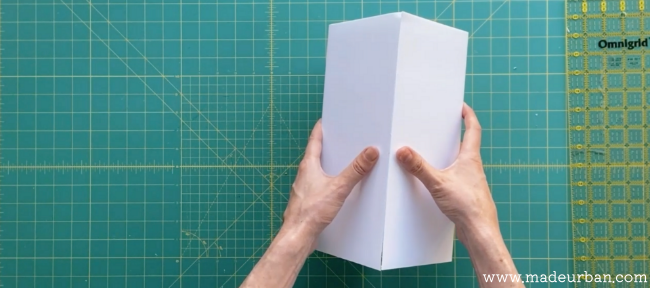
Fold your board in to create a square tower and make sure your two ends come together nicely to create a clean edge. Remove excess foam if needed.
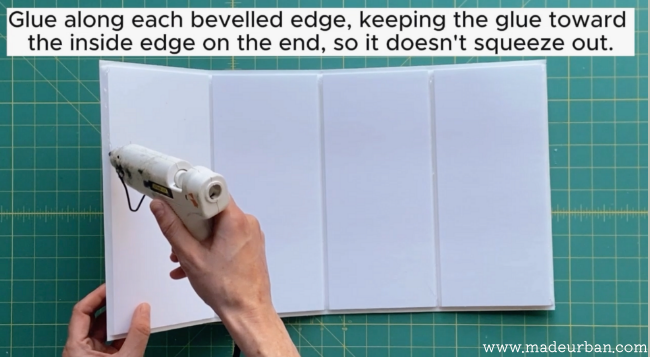
Step 5 – Glue bevelled edges together
Use a hot glue gun to glue your bevelled edges together.
Be sure to place the glue along the inside edge on the end, so excess glue doesn’t squeeze out when you press the seams together.
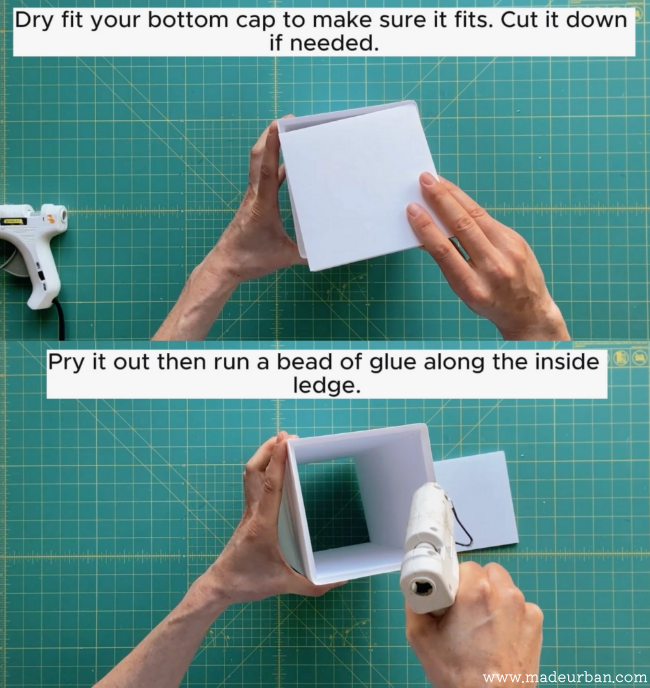
Step 6 – Glue bottom cap in place
Dry fit one of the 5″ x 5″ caps into place and trim to size if needed. Then glue into place.

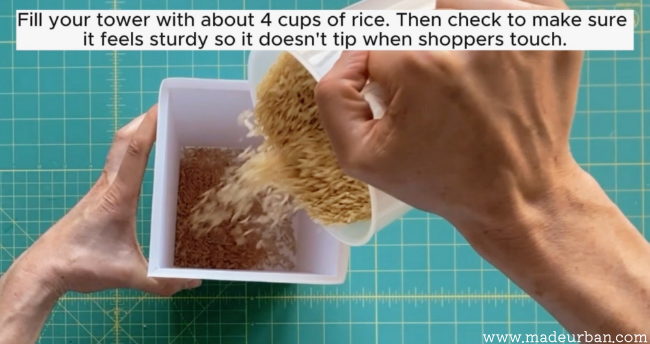
Step 7 – Fill with rice
Rice will add weight to your tower so it doesn’t tip when shoppers spin it or remove items.
I used about 4 cups of dry rice.
Test tapping on the sides to be sure it feels sturdy. Add more rice if needed.
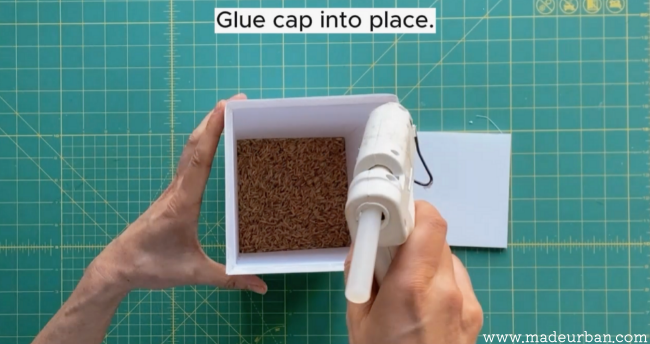
Step 8 – Glue top cap in place
Dry fit the cap for the top and trim to size if needed. Then glue into place.
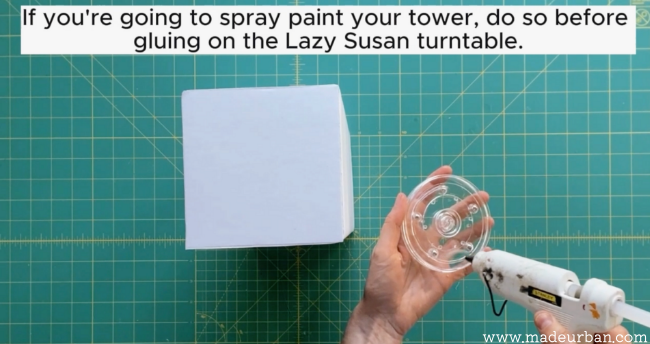
Step 9 – Spray paint (optional)
If you’d like your spinning scrunchie tower to be a different color, you can spray paint it at this point.
Please test the spray paint on a scrap piece of foam board to be sure it doesn’t warp your board or wrinkle your paper.
You could also cover your tower in craft paper. This may be ideal if your edges aren’t as clean or you have excess glue showing.
Step 10 – Add turntable
Glue a Lazy Susan turntable to the bottom of your tower.
I purchased this one: 4″ Lazy Susan turntable, but there are many sizes and variations.
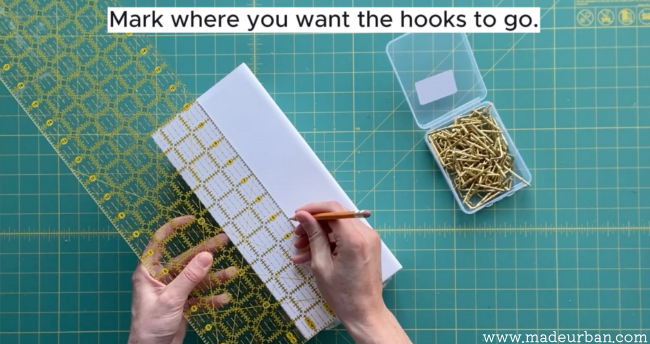
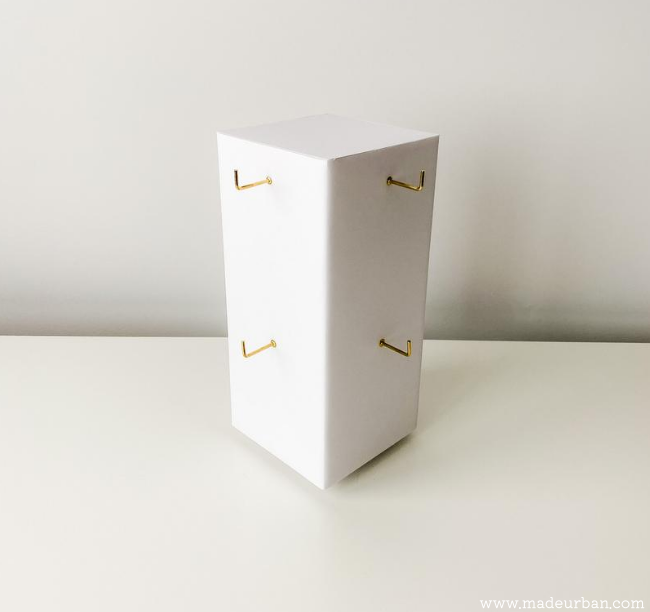
Step 11 – Add hooks
Based on the size of your scrunchies and tags, use a pencil to mark where your screw-in hooks will go.
I purchased these 2″ L-shaped screw-in hooks.
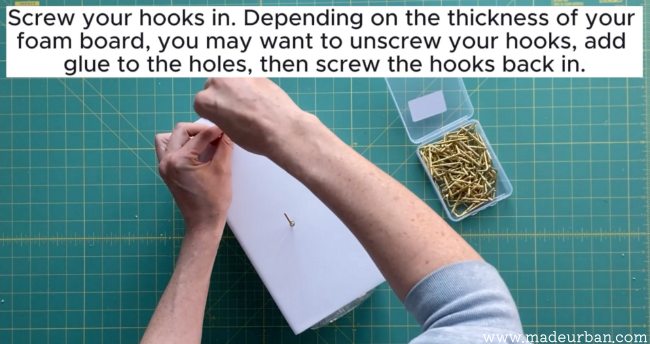
You may want to add another step of unscrewing the hooks, placing a dot of glue in the holes and then screwing the hooks back in. This will ensure they stay in place and don’t come loose.
Please let me know if you have any questions in the comments!

Hey, I’m Erin 🙂 I write about small business and craft show techniques I’ve learned from being a small business owner for almost 2 decades, selling at dozens of craft shows, and earning a diploma in Visual Communication Design. I hope you find my advice helpful!