9 Ways to Add Hanging Space to a Craft Show Display
If you have larger items that you need to hang at a craft show, but you only have an 8 foot space, you may find these options will help.
You’ll also find ideas for bigger spaces (e.g. you have a 10’x10’ booth).
These options are ideal for displaying products such as:
- hanging planters
- smaller wall hangings
- artwork
- t-shirts
- bags
- signage
- any other items that can be hung from s-hooks or hangers
*This article includes affiliate links, meaning I get a commission if you decide to purchase through my links, at no cost to you. Read full disclaimer here.
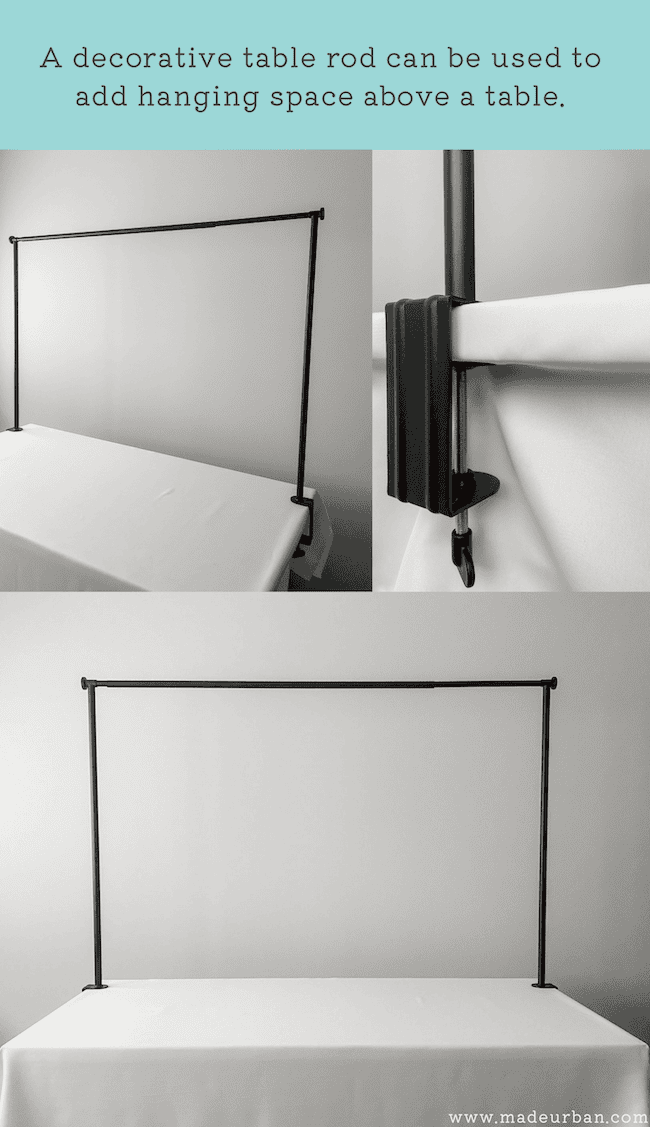
1 – Decorative table rod
There are a few versions of these on the market, and they’re typically designed to add decor above a tablescape (e.g. add flowers, lights, balloons, etc., above a dining table).
However, they also work great to add hanging space above a craft show table.
The one below was purchased from Ikea but there are several options and price points here:
They’re lightweight and most break down into multiple pieces so they’re easy to transport to a craft show.
A few things to consider when deciding on a rod:
- Look for a round rod (many are square) if you plan on using hooks or hangers that can easily slide along the rod
- Adjustable width – consider the length of your table and ensure the rod you’re buying extends to that length.
- Adjustable height – not all table rods will extend up and down. Consider if you’ll be using the rod for display only or you want shoppers to be able to reach and touch what’s on the rod. Then make sure the rod is the correct height, or can be adjusted to it.
2 – Kids’ clothes rack
There are many different styles of kids’ clothes racks that fit on top of a craft show table. You’ll find several options such as mini hang bars/rolling racks, double hanging racks, mini storage units with hanging and shelf space, etc. Check them out here:
This is the one I purchased on Amazon and shown below: Jotsport kids’ clothing rack.
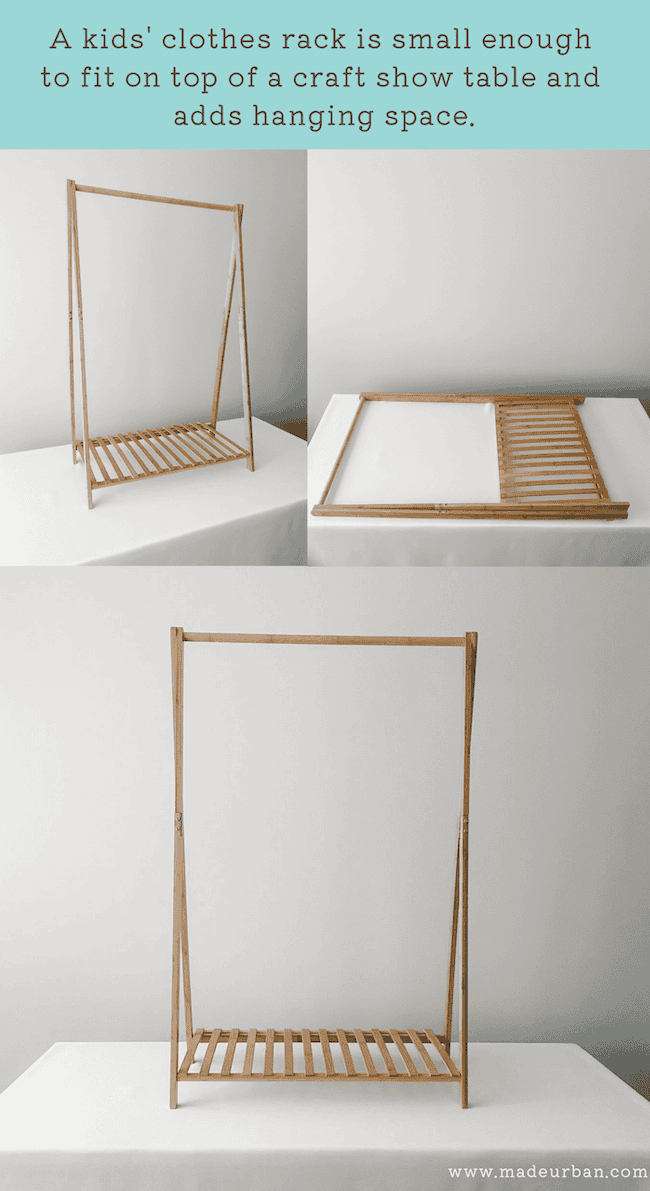
They’re small enough to fit on a table and short enough that it doesn’t place hanging items out of reach.
This one also folds flat so it’s easy to transport and store.
Be sure to check the height, width, and depth of the unit before purchasing.
3 – Room dividers
If you need to hang items such as art or wreaths, room dividers or privacy screens may be more suitable.
Here’s a DIY by Ohoh Deco you can follow to build a room divider. You would simply add more horizontal pieces of wood you could hang items from and skip the solid wood in the centre (which will make it lighter and easier to transport).
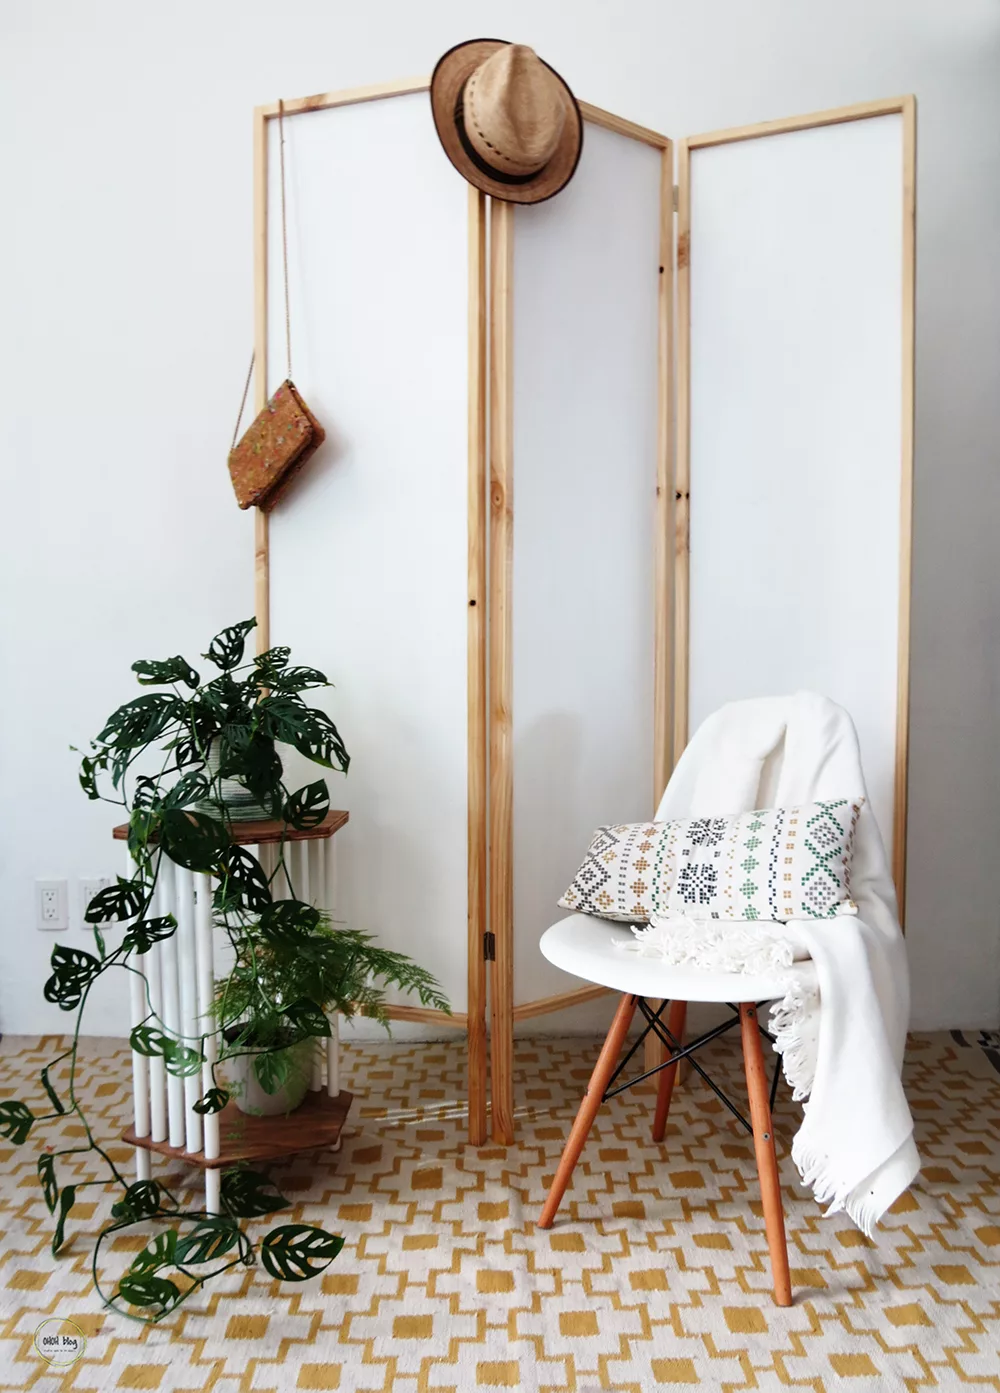
If you want to buy a room divider or privacy screen, check places such as Home Depot, Ikea, Amazon, etc for different styles, sizes, and materials.
4 – DIY tabletop hanging unit
Depending on how handy you are with power tools, you may be able to make a hanging unit to fit your space.
I’m not that handy with power tools, so I used wooden crates, 2x2s, and a wooden dowel to build my hanging display fixture.
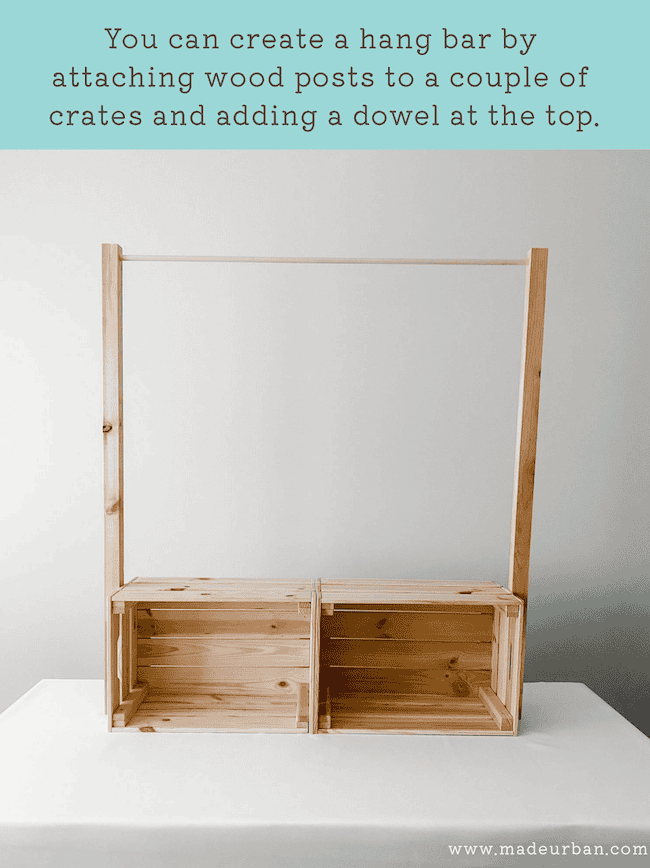
I only needed a handsaw (to cut my 2×2’s and dowel to length) and a drill (to drill holes for the dowel and screws).
It’s sturdy, easy to assemble (you’ll need to bring a screwdriver if you want to remove the upright posts for transport), and adjustable (you can adjust the height of the 2x2s and length of the dowel for more or less hanging space).
If you plan to hang items that have some weight to them, be sure to choose a dowel that is larger in diameter so it doesn’t droop.
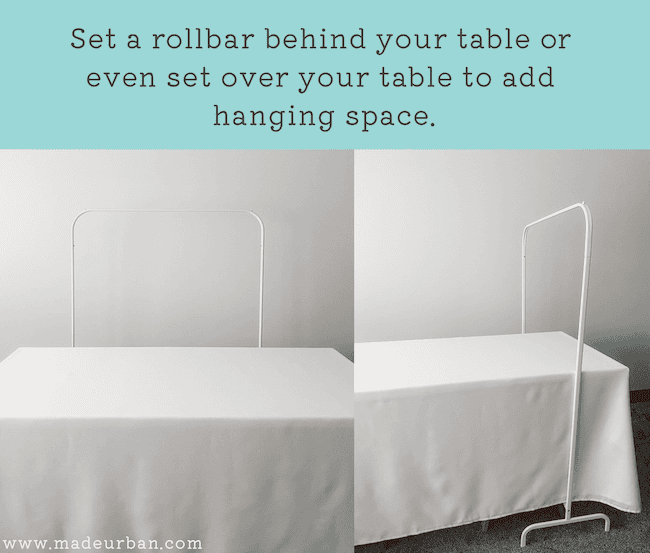
5 – Rollbar
A rollbar can be added to a craft show booth, behind or next to a table, or even set over the table. There are many sizes, colors, and styles to choose from.
You can then hang your products from s-hooks or hangers.
Be sure it doesn’t cause a tripping hazard or spill out of your allotted space.
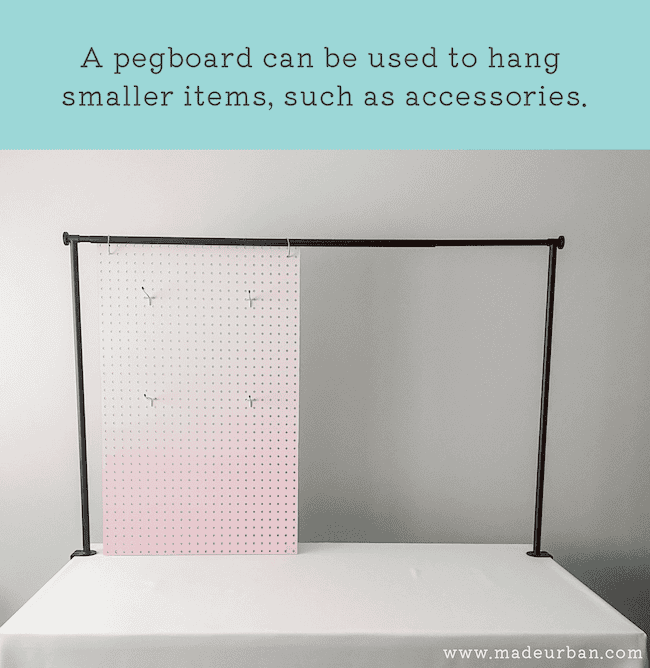
6 – Pegboard
If you need to hang smaller items, such as jewelry, ornaments, hair accessories, etc. you can add a pegboard to your space.
There are many options and accessories for pegboards. If you need it to be a specific size, go for wood (over metal) so you can use a jigsaw to cut it to the shape and size you need.
You can hang a pegboard from the table rod (as shown below) or build a base that allows it to stand upright.
You may also try this DIY using foam core and wooden dowels to make a lightweight freestanding pegboard.
If you’re handy with power tools, you may want to build your own.
You can build a frame and base to set a pre-made pegboard into, like this one by Angela Marie Made (you can find the instructions here). You would likely want to alter the base so it’s less heavy and easier to transport, but the DIY gives you an idea.
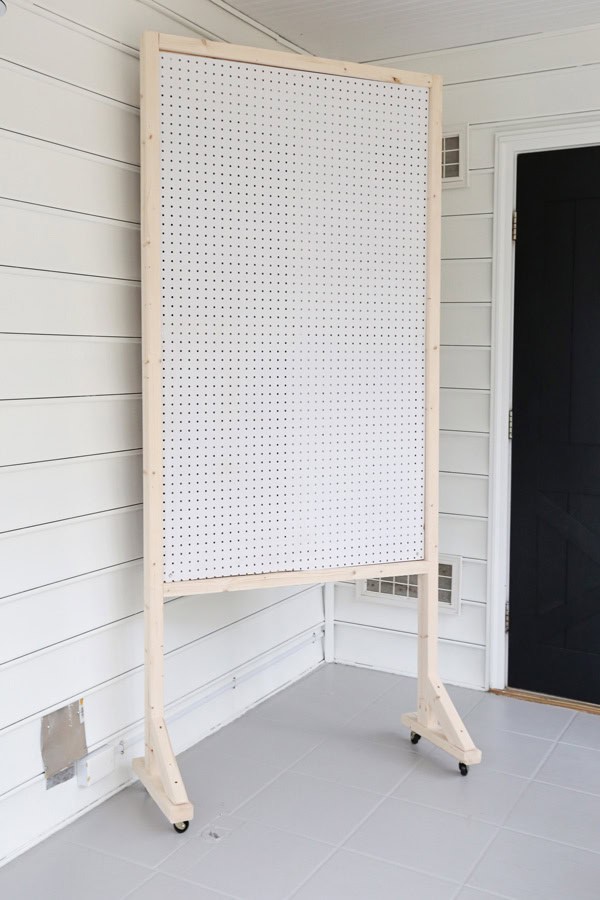
Here’s another DIY to make a freestanding peg-wall from scratch. This type of unit allows you to use bigger dowels and hang heavier items.
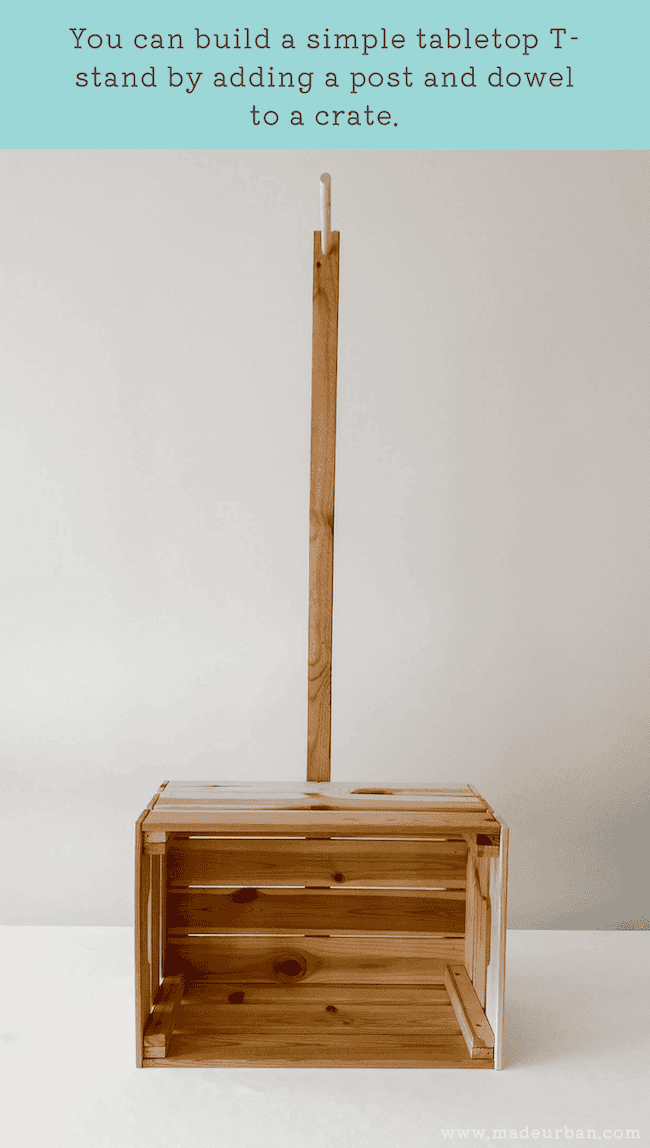
7 – T-stand
T-stands are common fixtures in retail stores used to hang clothing. You can make a tabletop t-stand, similar to the one below, which I made with a crate, a 2×2, and a dowel.
If you have a larger space (such as a 10’x10’ booth), or you have room next to your craft show table, you can create or buy a floor t-stand.
These do tend to be a little more expensive, so if you can make one out of wood or PVC, you’ll save some money.
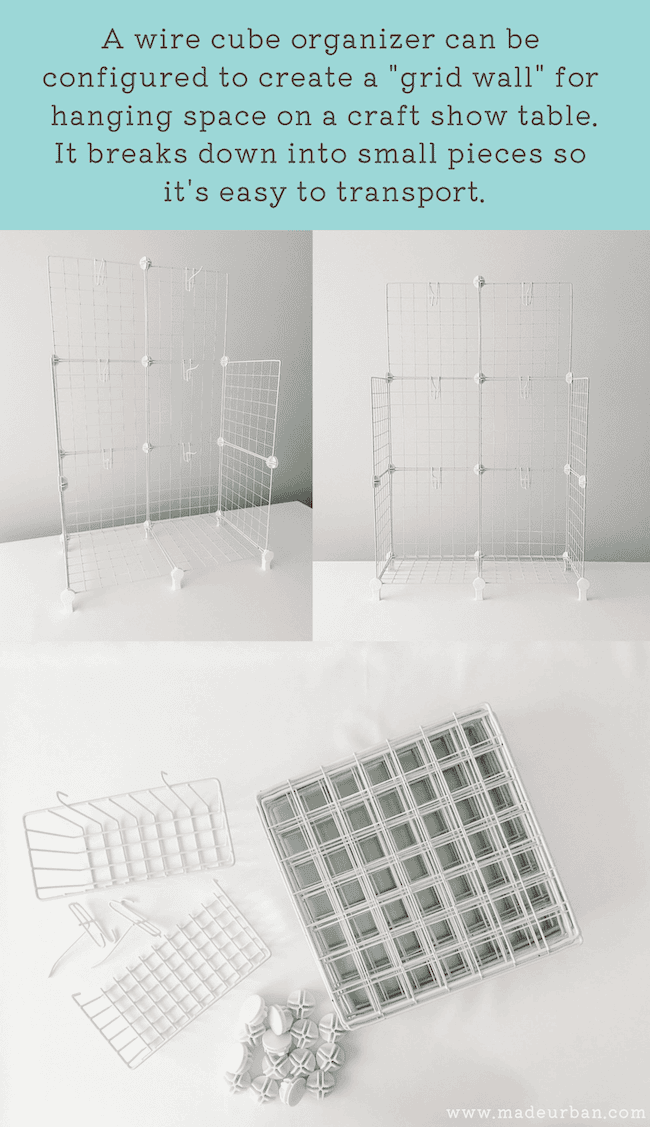
8 – Gridwall
You can purchase wire cube units which work well for on top of or next to a table. They’re lightweight and break down into small pieces so they’re easy to transport.
This is the cube organizer I purchased and is shown in the photos below. But if I had to purchase again, I’d go with something like this one or this one, as I prefer the solid background (to cut out “visual noise) and flat surface (so it’s sturdy for products to sit flat).
There are also larger grid units that would be ideal for a larger booth, but they will be a little harder to transport due to their size.
Many different accessories attach to grid walls and will allow you to hang a variety of different items (you’ll find several options here).
The only thing I don’t love about this type of fixture is that it doesn’t create a clean and streamlined look due to all the grid lines.
9 – Screw hooks
If you have smaller items to hang, such as jewelry, ornaments, hair accessories, etc. you can add screw hooks to a solid fixture.
I purchased L-shaped screw hooks, which come in a variety of colors and lengths.
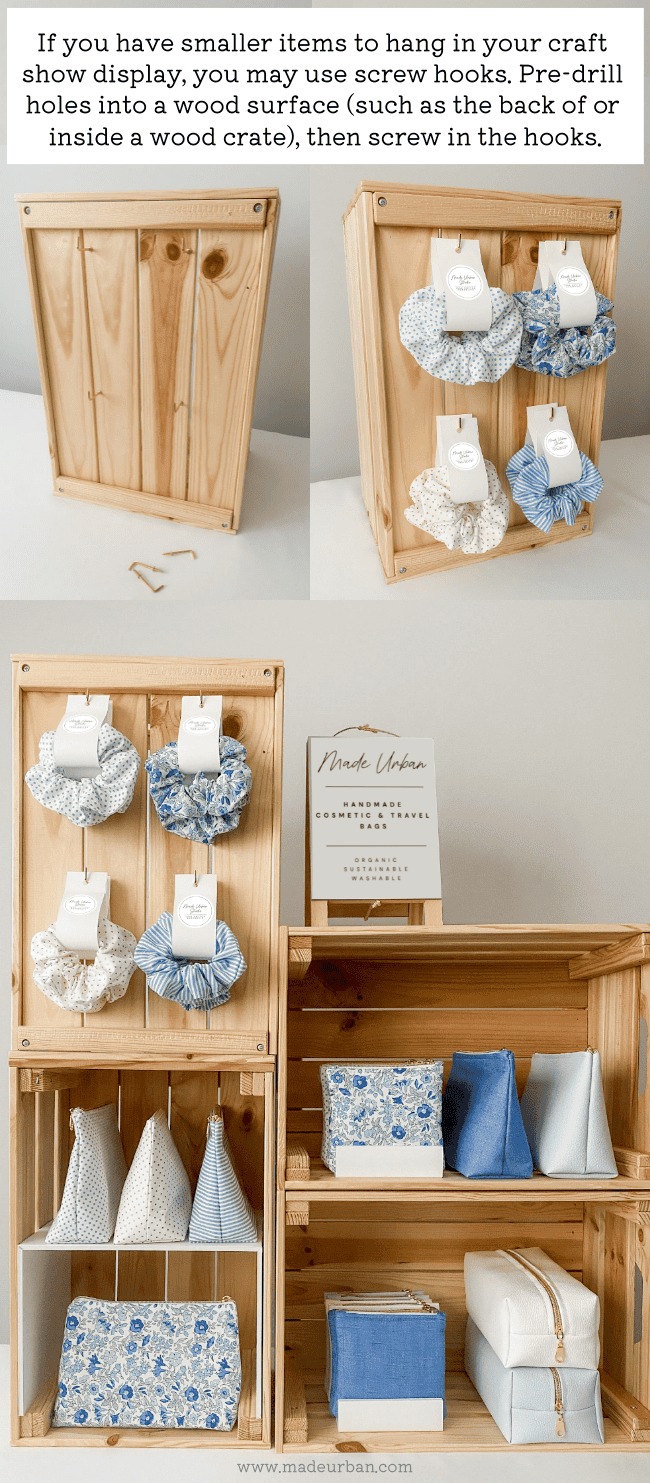
If you needed more surface area, you could attach a piece of wood to a few crates and then screw the hooks into the piece of wood. The wood crates offer a sturdy base.
If you’d like to see many of these ideas with products, check out 10 Ways to Display Tote Bags at a Craft Show, which puts most of these hanging fixtures to use.


Hey, I’m Erin 🙂 I write about small business and craft show techniques I’ve learned from being a small business owner for almost 2 decades, selling at dozens of craft shows, and earning a diploma in Visual Communication Design. I hope you find my advice helpful!
I love your ideas but you seem to only deal with indoor types of displays. The greatest problem vendors have at outdoor events is wind. Got any ideas for wind proofing a booth?
Thanks,
Ethel
Hi Ethel,
Thanks for reading and commenting! The ideas are photographed indoors, but most of them are suitable for an outdoor event. All the fixtures (aside from the tabletop gridwall) are sturdy, or can be made more sturdy by adding some weights to the base.
To cut down on wind in your booth, I highly recommend investing in some attachable side walls (I’ve linked to some examples here). You can also close in the front of your booth, which will cut down on the wind that gusts through your space, and it can also add to your branding.
Here are some fun examples of partially closing in the front of your booth:
Example #1
Example #2 (this one also shows the standing pegboard in use at an outdoor event)
Example #3 (this one shows the room divider idea in use at an outdoor event; on a windy day it could be secured to the booth’s legs)
I hope that helps!
Erin
Thank you, thank you! I’ve been trying to come up with the best way to display needle felted mobiles and these ideas are so timely and helpful!
Hi Cathy! I’m so glad! Let me know how the ideas work out. The mobiles sound lovely 🙂
~Erin
Je suis toujours ravie de lire vos astuces tirées de votre expérience ; j’attends toujours avec impatience de recevoir le mail de votre part nous montrant vos nouvelles idées.
Un grand merci à vous !
Merci beaucoup d’avoir lu! Je suis content que mes conseils soient utiles 🙂
~Erin
Regarding the grid wall panel not having a clean look due to the grids, I initially used a white shower curtain and hung it behind the panel. I later went to a piece of fabric in my color and while the grids still show, mostly the eye sees the sold color showing through. Great way to add a good size pop of your business’ color to a booth. I use mostly turquoise and some green as my accent colors and I have had several people say they feel like they are stepping on to the beach when entering my booth!