How To Start a Newsletter for your Handmade Business
Your small handmade business NEEDS email marketing in its life. It’s 4x more effective than social media is and it’s a guaranteed way to stay in touch with your followers. Facebook, Instagram or Twitter can change their algorithm at any time to limit how many people you reach, or even shut down your account without warning.
So you’ve taken a big step by landing here and will take an even bigger step if you take the time to set up your newsletter account right now.
It will take you 10 minutes following these steps (maybe a little more if you want to get fancy with your signup form) and you can start collecting email address today and be ready to send your first newsletter next week.
Let’s get to it!
1 – SIGN UP FOR MAILCHIMP
There are many options when it comes to email marketing services but don’t get hung up on researching them all…that will only make you put off starting your newsletter.
MailChimp is free and really easy to set up. If you decide you don’t like MailChimp and would like to use another service, you can easily export your subscriber list from MailChimp and import it into the email marketing service of your choice.
- Follow this link: https://login.mailchimp.com/signup/
- Enter your email, create a username and a password
- Go to your email, open the message from MailChimp and activate your account
You’ll then fill in some basic information:
- First name & last name
- Name of your business
- Website (you can use the URL of your social media account if you don’t have a website yet)
- Address (this is required to comply with anti-spam laws)
Then you’ll choose whether or not you have existing subscribers. Since you’re reading this article, I’m assuming you don’t have a newsletter list yet and you can select “no”.
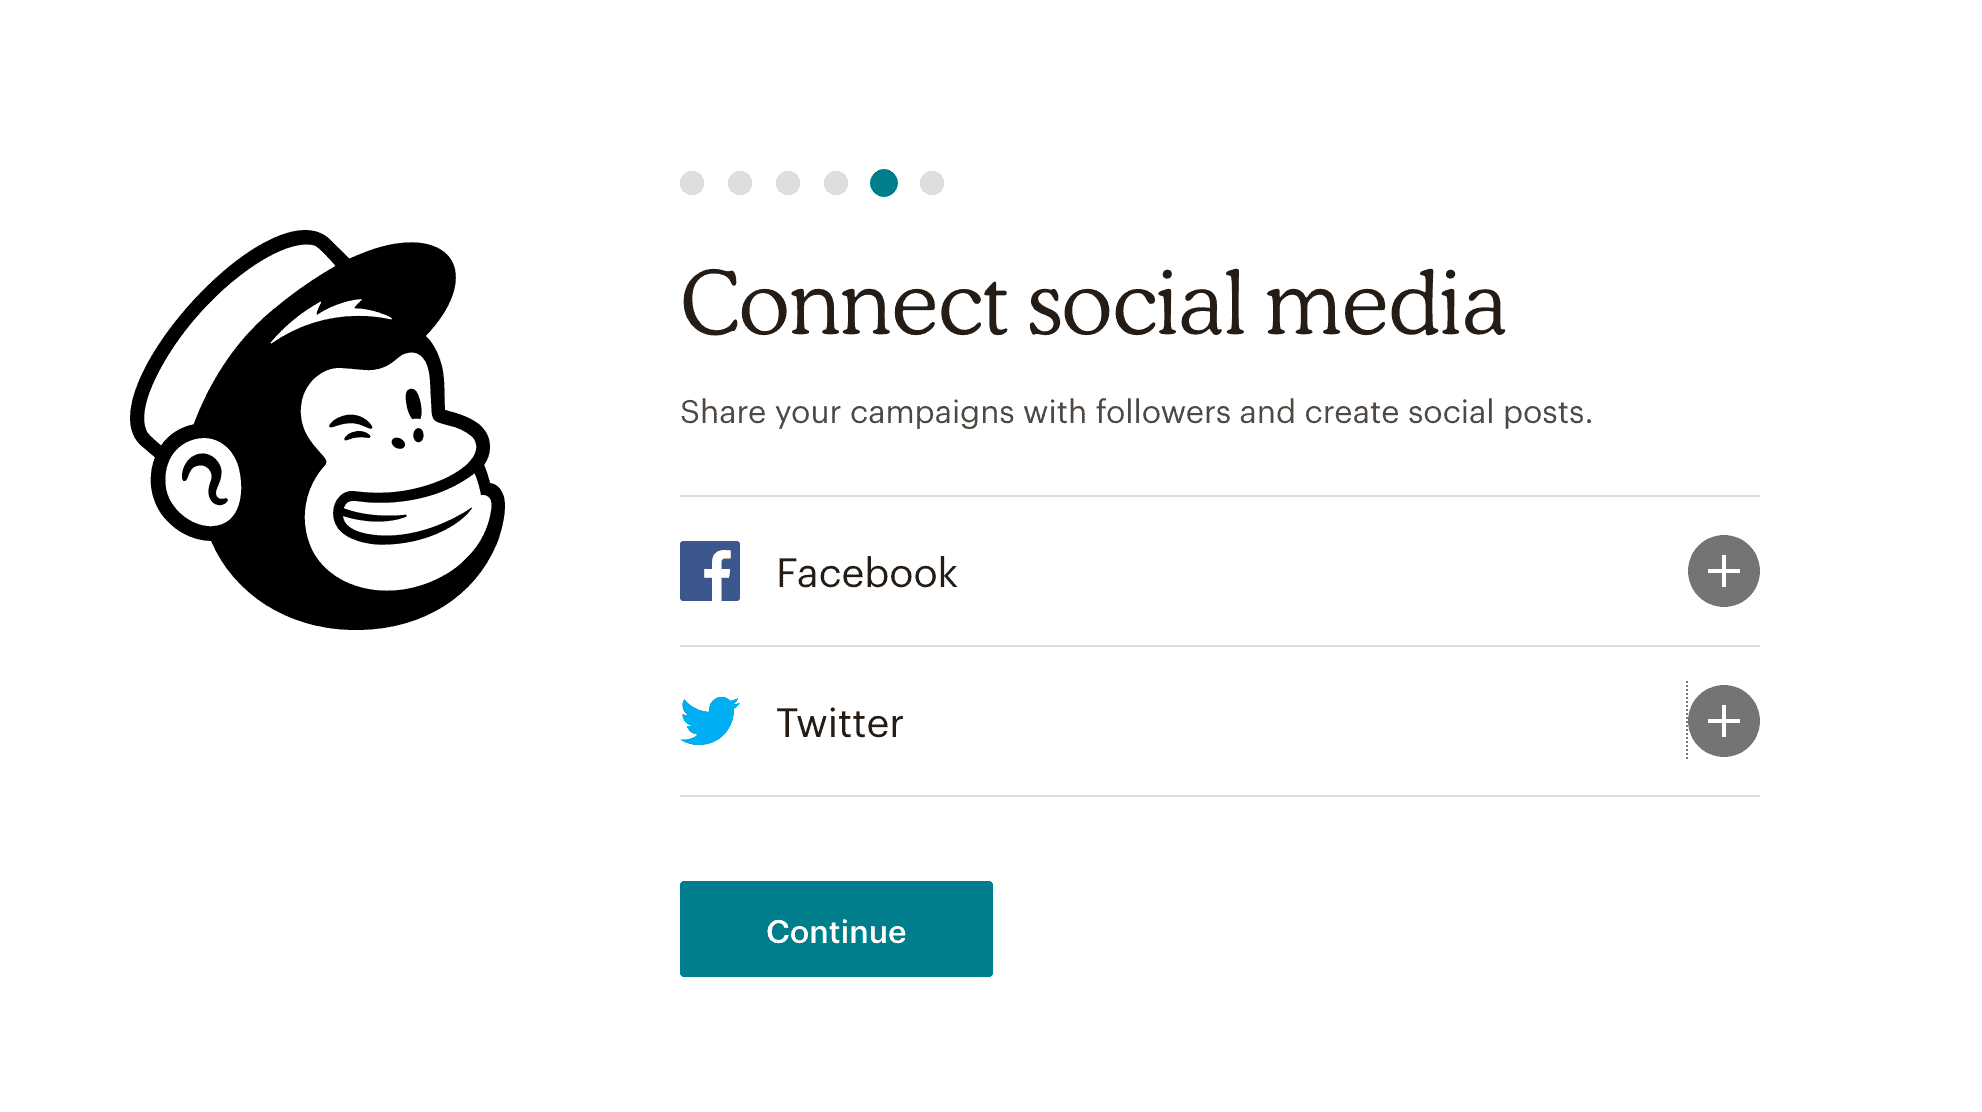
You can then connect your newsletter account to your Facebook or Twitter account, or just click CONTINUE if you don’t want to do that just yet.
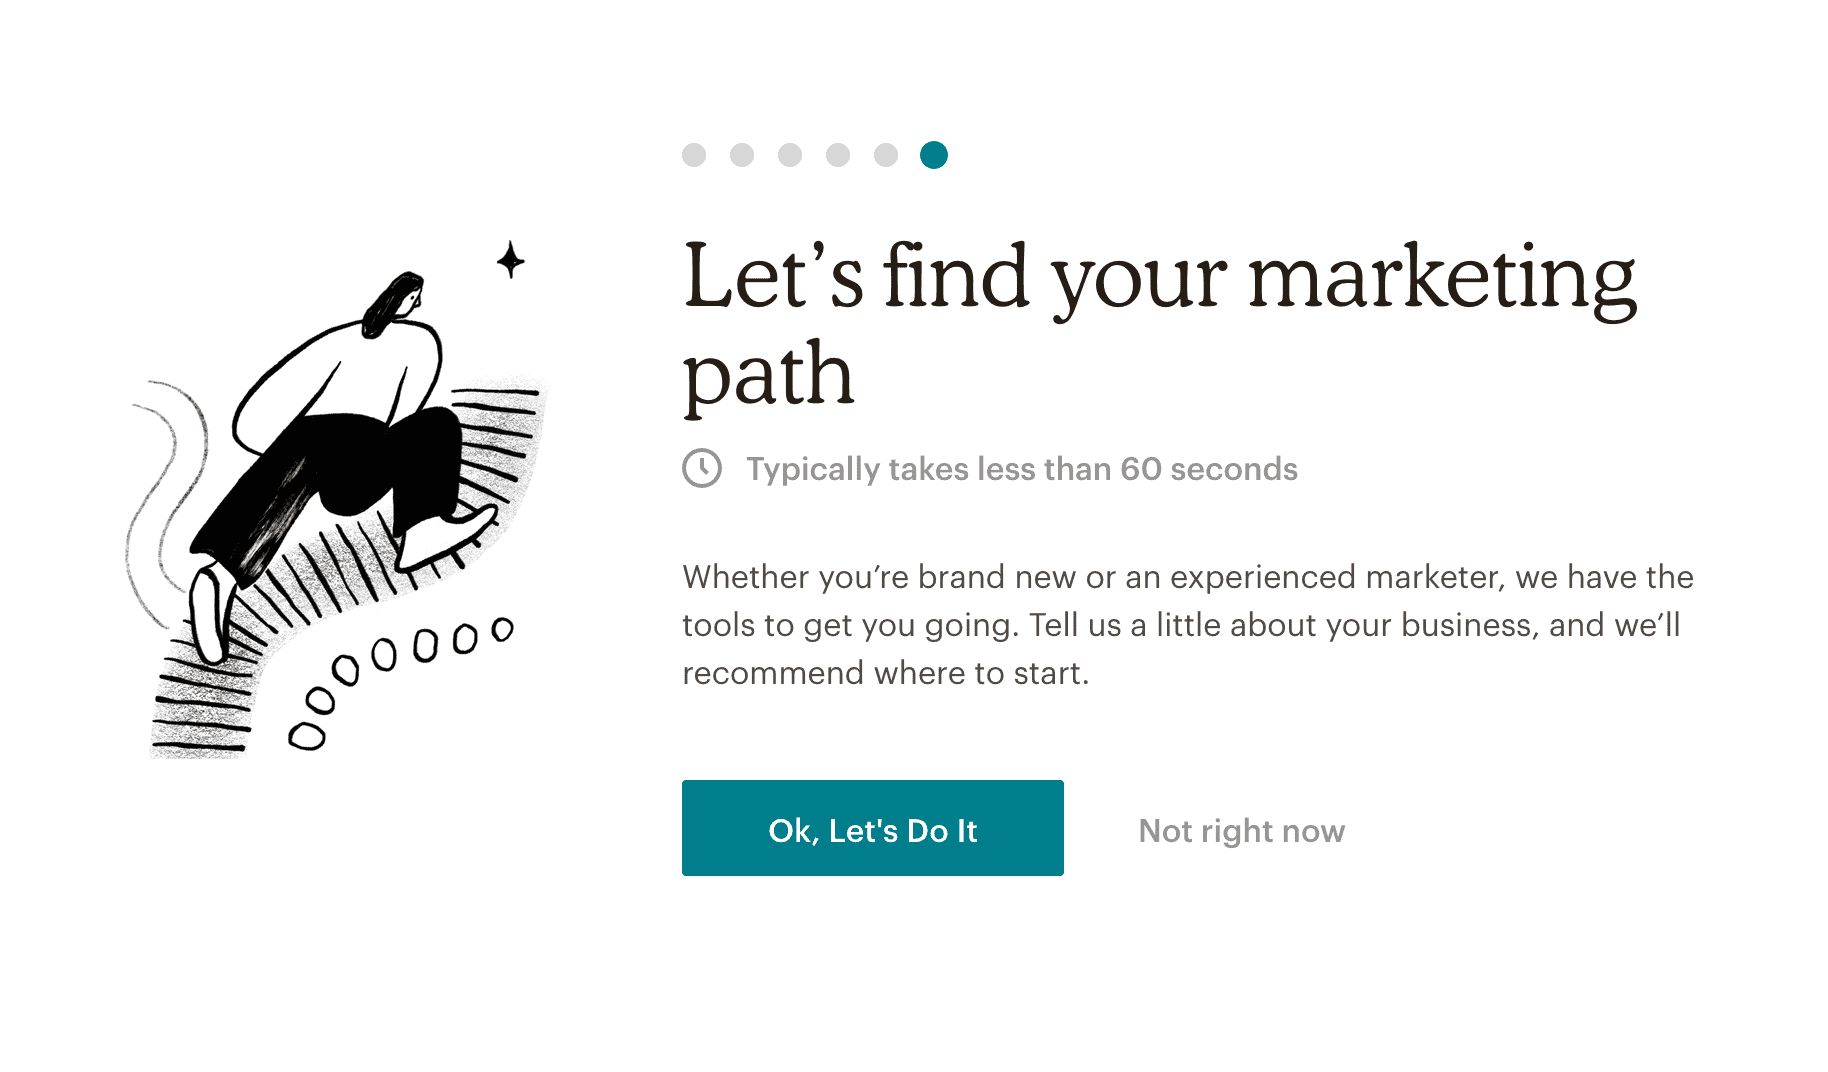
The next step is optional; you can answer a series of questions, which MailChimp will use to help you find your marketing path. It’s quick to do and who couldn’t use help with marketing? I’d suggest you complete this step, but you can also select “not right now” if you’d prefer not to.
You’ve now completed the set up and can click the checkbox to sign up for MailChimp’s newsletter or simply click the LET’S GO button.
OPTIONAL
You can complete the rest of the steps to get your business account set up, or simply select “skip this step” or “I’ll do this later” to complete the steps later.
- Connect your store
- Design your first email
- Add your contacts
- Send your first email
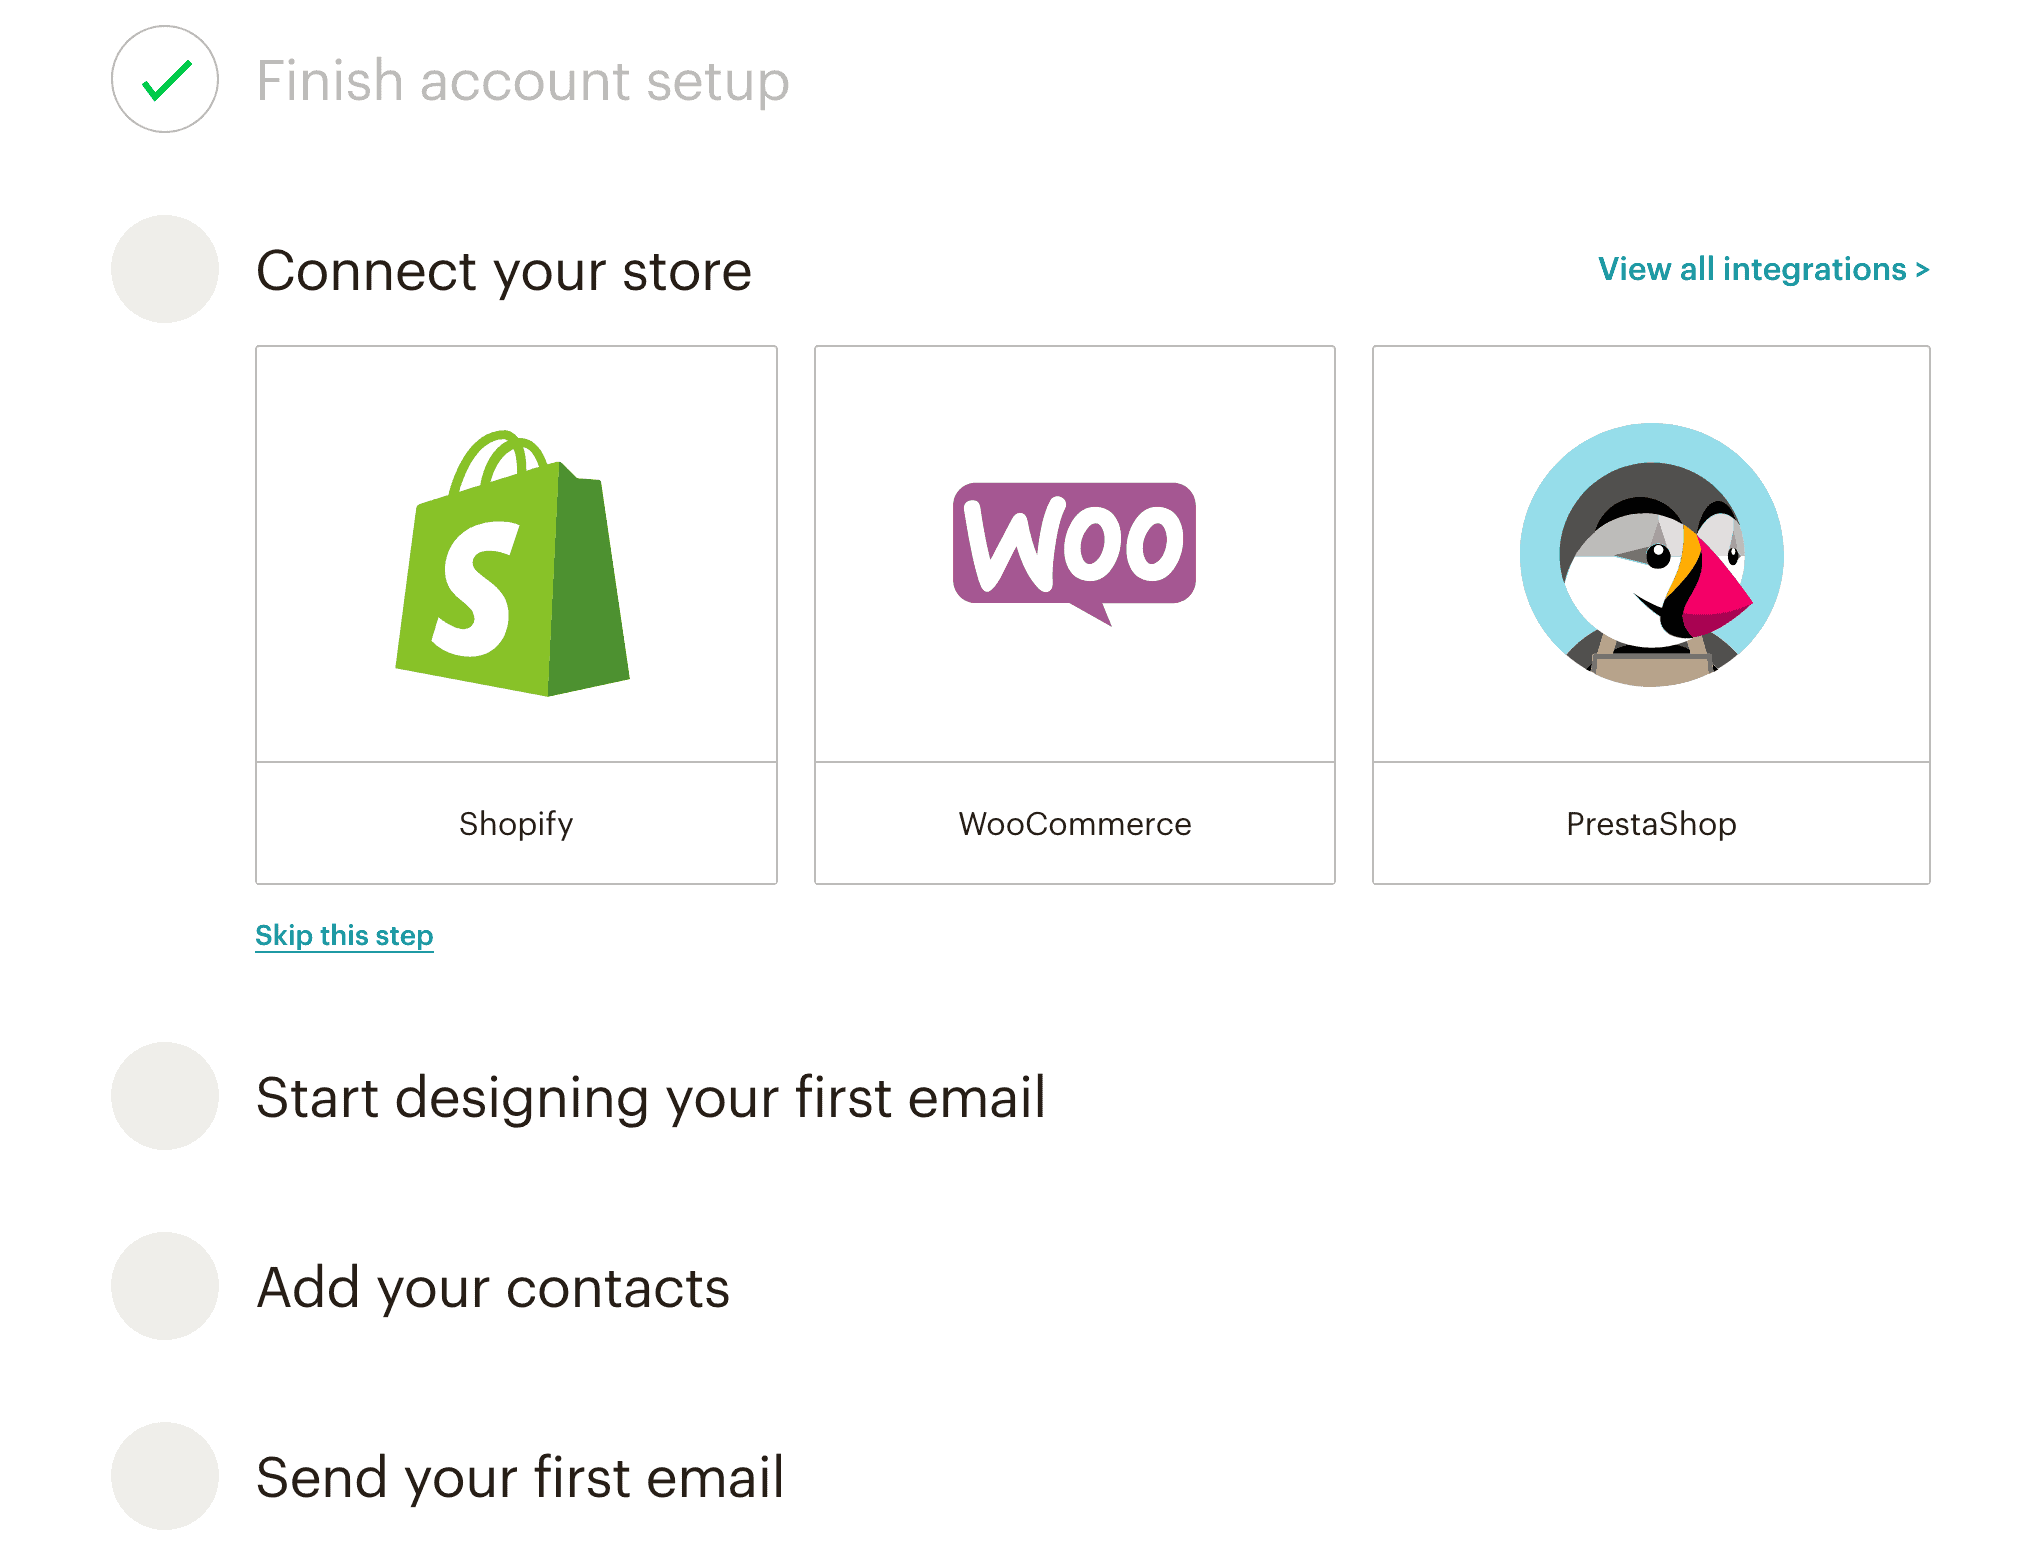
Because this article is focused on getting your newsletter set up so you can start collecting email address, and within 10 minutes, you can skip these steps for now.
STEP 2 – CREATE A LANDING PAGE
This is the quickest way to get started. You don’t need a website to start a newsletter and you don’t need to mess around with code to get forms and pop-ups right on your website (we can get into that later…let’s just worry about the basics for now).
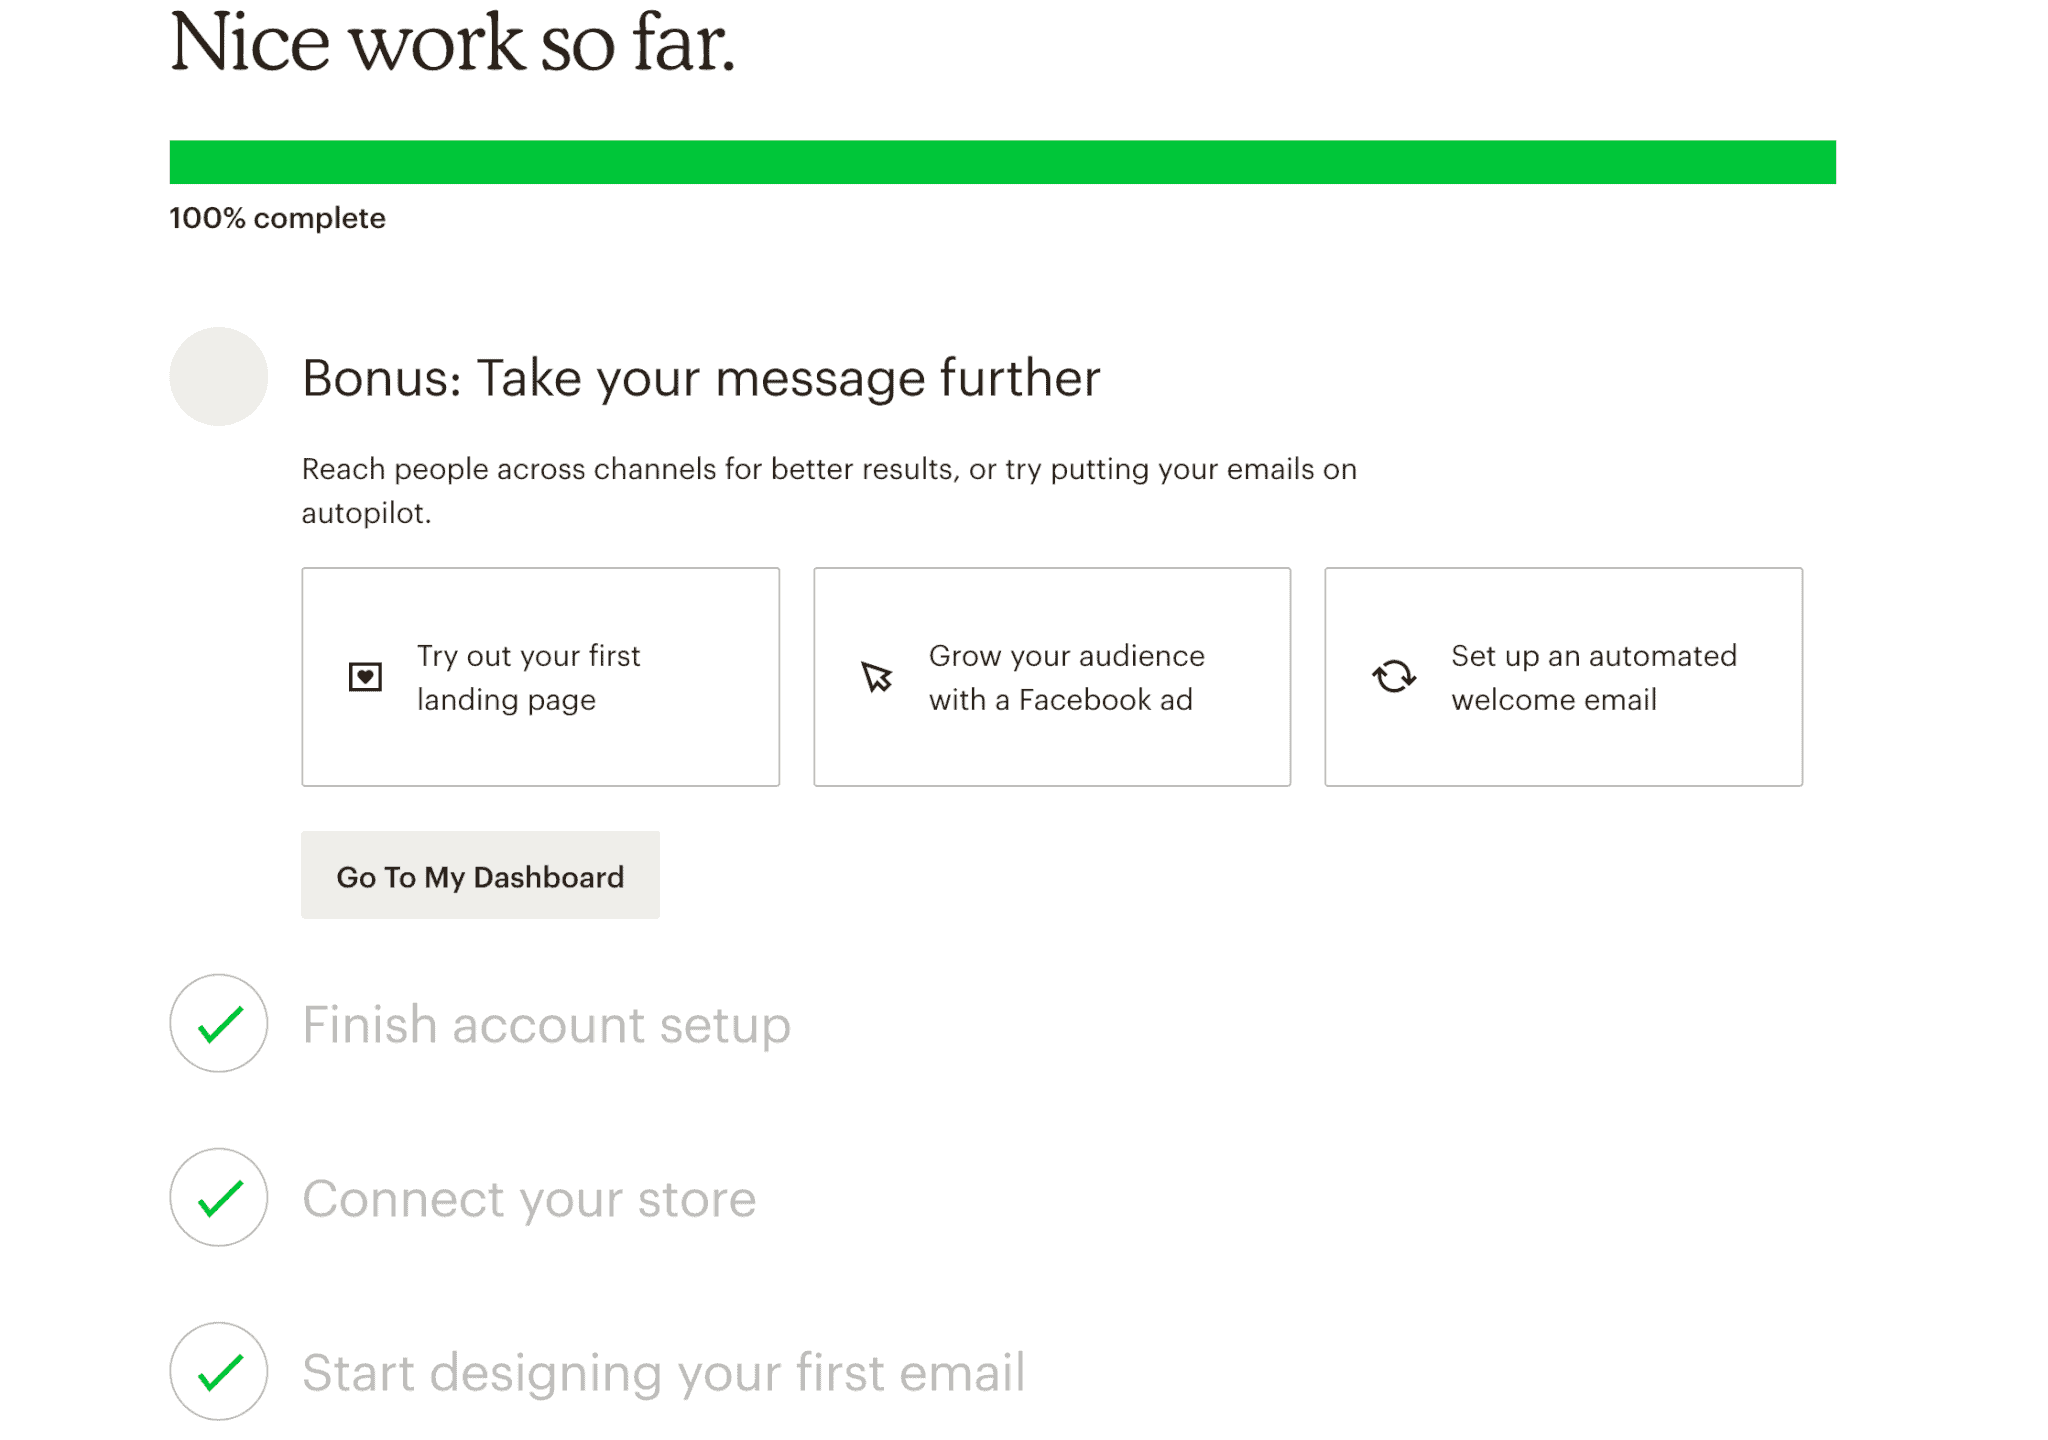
Click the “Try out your first landing page” button.
You will then be prompted to enter:
- Landing Page Name – give your page a name so you can identify it
- Segment – there is a dropdown to choose from, which allows you to create a segment (a.k.a a grouping for the people who sign up on this page). For now, my suggestion, to keep things easy and to keep you moving 😉 is to not worry about creating segments. They are handy, but not necessary. IF you sell to two different types of customers, let’s say Men’s Soap and Women’s Soap, you may want to create a segment for each.
Click the BEGIN button and you can then start creating your landing page:
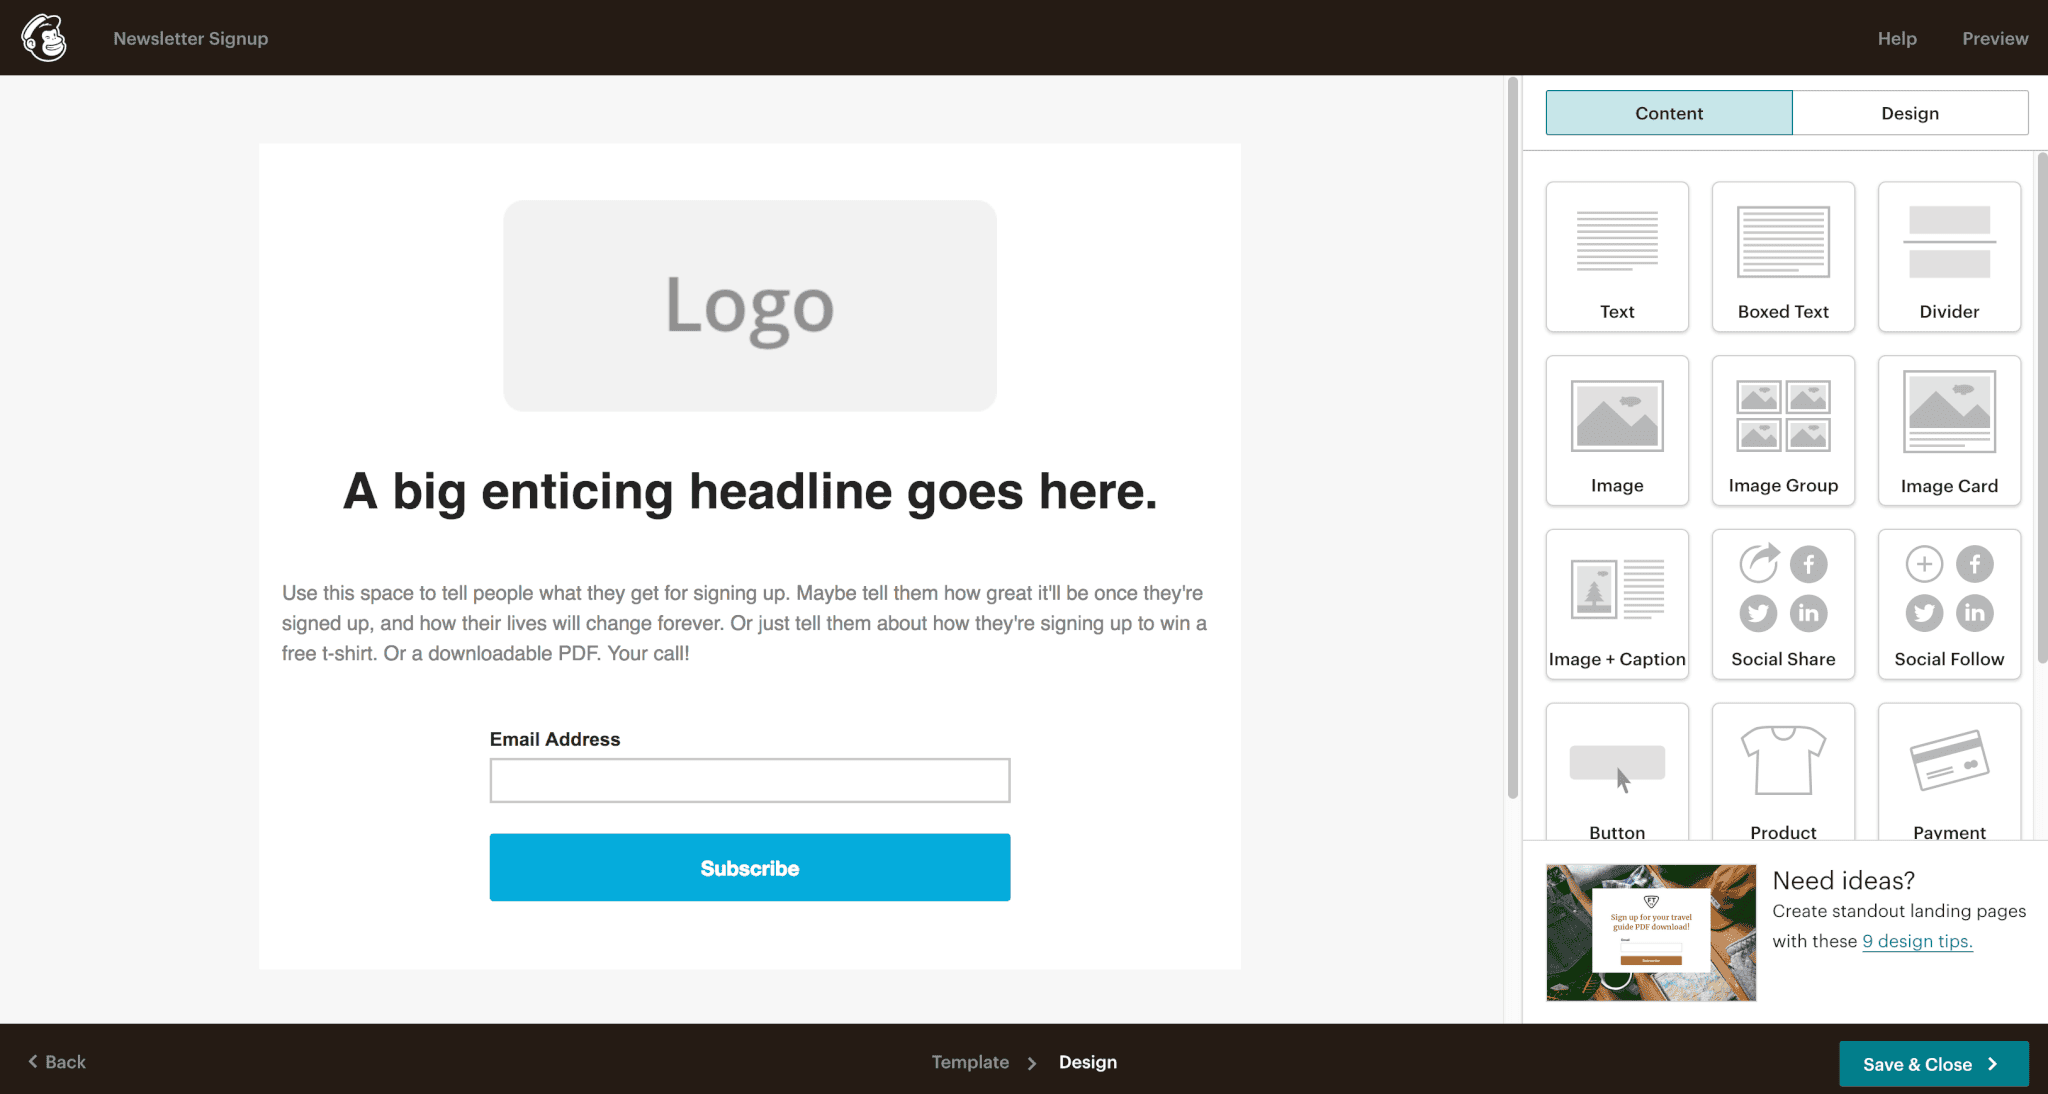
- Choose a template – Select the “Grow your List” template
- Fill in your information – Click on the pencil icon in the top right of a blog (it appears when you hover your mouse over the section) and upload a photo of your logo, add an enticing headline, a description of what you’ll send subscribers.
- Content – you can add extra content such as social media follow buttons, extra images, text, etc. Simply click the “Content” tab on the right side of the page, click on the icon you want to add and then drag and drop it where you want it. My suggestion is to keep this page pretty simple. I’ve tested LOTS of sign up forms and the quicker and clearer you can get your message across, the more signups you’ll get. People don’t want to read a big block of text…keep it fun!
- Design – you can make your landing page on-brand by changing background colors, button colors, fonts, etc. Use “Mobile Styles” to edit how the landing page looks when being viewed on a phone.
STEP 3 – SAVE
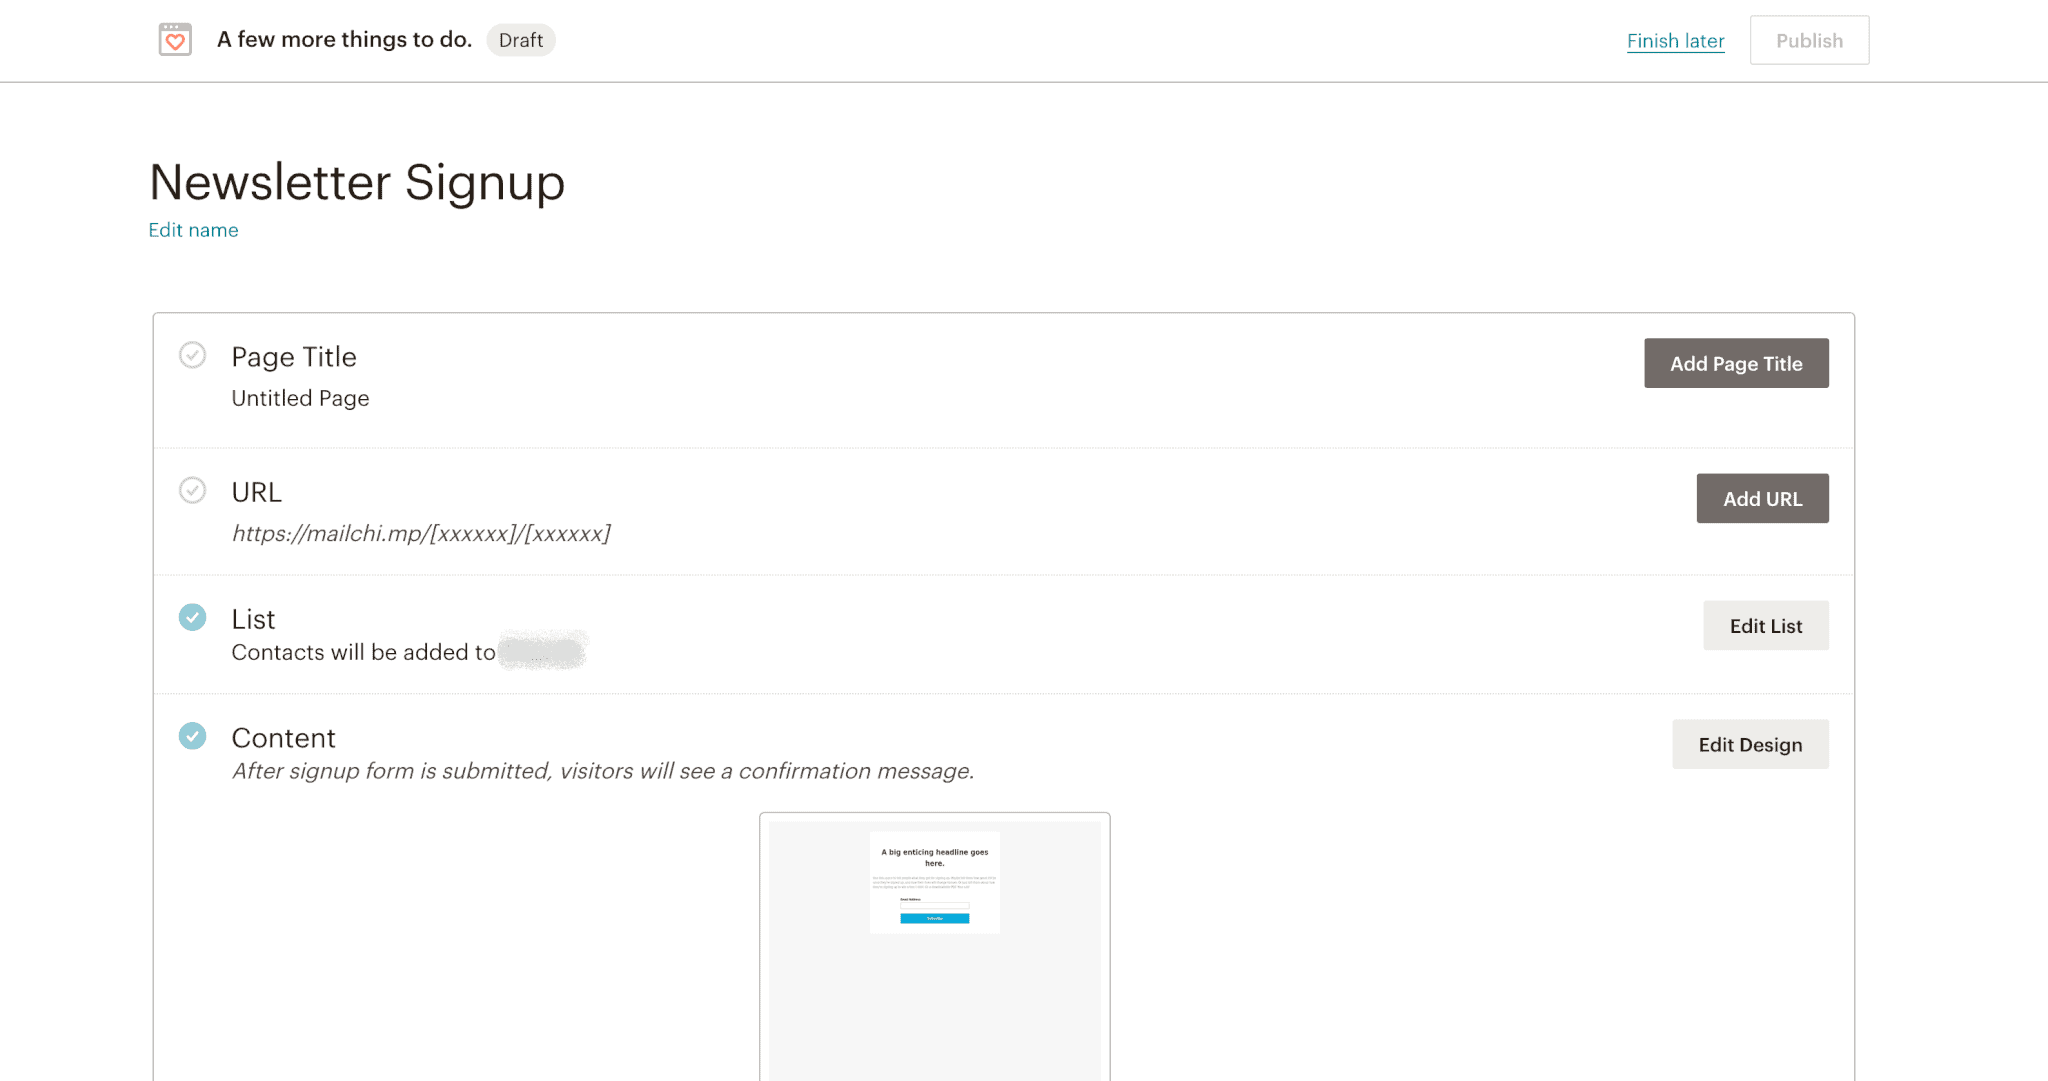
Once you’re happy with your form, click the teal “Save & Close” button in the bottom right of your screen. To get your landing page ready for sharing, you’ll have to complete the final two steps on this page to get a blue checkmark next to all tasks:
- Page Title – Name the page
- URL – this is the link you’ll share that will send people to your newsletter signup page. You can let MailChimp generate the URL or you can edit part of it to include your business name or “newslettersignup”.
STEP 4 – PUBLISH
Once you have a checkmark beside each field, you can hit the PUBLISH button at the top of the screen.
Check out your new landing page and be sure to view it on your phone too.
If you need to go back and edit this form, you’ll find it under the “Campaigns” tab. Use the arrow next to “view reports” and select “edit”
STEP 5 – SHARE
Don’t worry, you won’t have a flood of people coming to this page until you start sharing the link.
A few ways to start are:
- Etsy shop – you can share a link in your product descriptions, bio or shop announcement.
- Social media – add the URL to your newsletter signup landing page in a Facebook post or in your Instagram bio.
- Website – if you have a website, add a link in your footer. You can also create forms in MailChimp that you can embed right on your website so people don’t have to leave your site to sign up.
You’ll find more ways to market your newsletter and increase signups in HOW TO START SEND & GROW A SUCCESSFUL NEWSLETTER.
Sign up for my newsletter using the form below to receive 365+ NEWSLETTER IDEAS if you’re wondering what to send.

Hey, I’m Erin 🙂 I write about small business and craft show techniques I’ve learned from being a small business owner for almost 2 decades, selling at dozens of craft shows, and earning a diploma in Visual Communication Design. I hope you find my advice helpful!

This is AWESOME. I signed up for mailchimp a while ago, but never actually did anything with it. This makes it much less intimidating! THANK YOU! 🙂
I have been looking hard for marketing ideas and instructions for my small Etsy jewelry business. I decided I want to collect email addresses so that I can send newsletters to my customers about my jewelry business but I had little luck finding help so I marketed on Facebook and Instagram, which was ok for Facebook but I didn’t get a lot of business. This is the most informative and enlightening article/newsletter I have read about all this. I am so excited! I have every Made Urban ebook I could get my hands on and I made a giant notebook of them. I LOVE Made Urban!! Perfect info for my small jewelry business. Thank you Erin!!
Hi Emmie,
Thank YOU so much for your support and kind words! I’m so happy you found this article helpful. A newsletter is my top recommended marketing strategy so I’m excited you’re starting one for your jewelry business. Let me know how it goes and if you have any questions along the way!
~Erin
Hi again Erin, actually I do have a question about collecting emails for marketing via newsletters. What is the best (and legal) way of collecting emails from customers on Etsy? My husband thinks there has to be some kind of “opt in” button for the customers to press if they want to sign up for the newsletter. Is Mail Chimp used for this? I guess I need to check Mail Chimp out, I’m not familiar with it. Thanks for all you do! Your teachings are amazing!
Emmie
After my last comment on the best way to collect email addresses on Etsy, I clicked on the other link in your “comments” email and found my answer in this section. So I am printing out your instructions on how to use MailChimp and where to put the URL in my Etsy shop. Thank you so much for the detailed instructions, I will follow these instructions as I sign up for MailChimp and set up my account.
10/2/23 2:24pm EST
Hi again Erin, I have been working on MailChimp trying to figure it out since 7:00am this morning but I’m getting nowhere fast. I’m finding MailChimp to be extremely confusing. Your step-by-step instructions seem to be partially outdated with MailChimp or something because a lot of the instructions don’t match the MailChimp website content. I have created a simple Landing Page but I want to edit it and I can’t figure out how. Just navigating MailChimp is confusing for me. I tried on my mobile phone with the MailChimp mobile app but a lot of it didn’t work so I switched to my laptop but I’m getting lost constantly. I need to connect my store – Etsy – but I have no idea how to do that and I can’t find any info on MailChimp about it. I’m lost!
Hi Emmie,
In regard to your earlier question, yes, Mailchimp will allow you to set up a single or double opt-in or stay compliant with the laws you must follow based on location.
I’m sorry to hear setting yours up has been frustrating. Websites do have a tendency to update their layout/look/steps frequently so I’ll have to go through and update the images when I have time. In the meantime, you may find this article helpful: https://mailchimp.com/help/create-a-landing-page/
When I get stuck, I will Google my specific problem. You may try Googling “how to edit mailchimp landing page”.
As far as I know, there isn’t a way to “connect” your Mailchimp landing page to Etsy. You can simply share the link to your landing page.
~Erin
Hi Erin, yes I find MailChimp to be a bit user unfriendly but I didn’t quit and I was able to create the landing page I wanted and I was finally able to, after lots of work and help from my techie husband, make a clickable link to my landing page in several sections of my Etsy shop (even he had to Google some Etsy issues we came across). I put the clickable link in my “Shop Announcement”, my “About Me” bio, and in the description of each one of my listed items. However, most people don’t read those sections so I didn’t think it would get much attention so I messaged my customers via Etsy’s messaging service and promoted the link to each of them in a personal way. Within minutes I had a couple of newsletter sign-ups. So whenever I get a new sale, I will message that customer and thank them for their order like I usually do, and I will add my newsletter promo and clickable link in the same message. Do you think this is a good idea?
Thank you, Erin. I accidentally made 2 landing pages, lol. My husband is a techie and is going to try to figure things out with me today. That’s a good idea to Google the issue, I didn’t think about that. And yes you’re right, a lot of websites do lots of updates so it’s gotta be hard to keep up with them. I do very much love your teachings and I have all your ebooks. You are definitely the authority on how to run a small handmade craft business. My hubby and I will figure MailChimp out because I really want and need this to grow my small jewelry business. Thank you for all you do!!